Learn the basic but critical elements that form the foundation of successful rifle shooting, from the respected rifle coach Keith Poyser
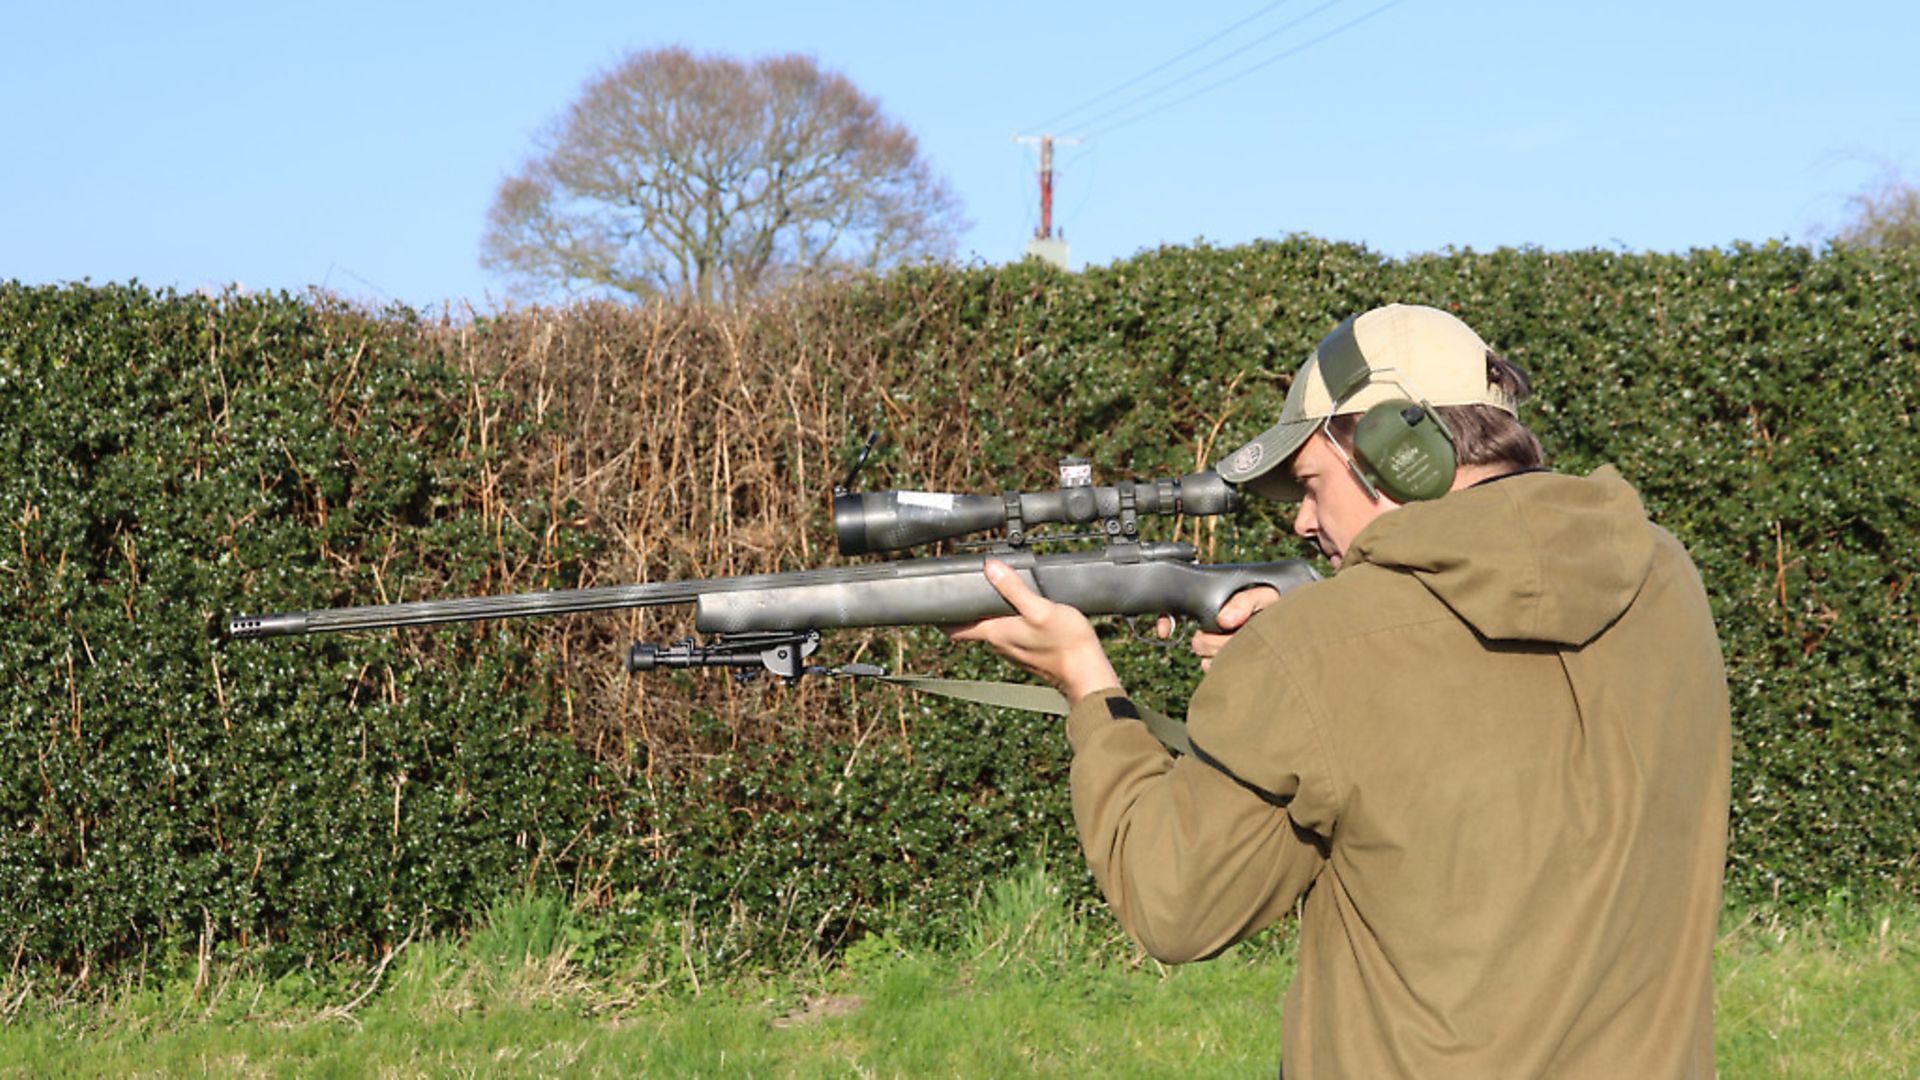 credit: Archant
For those of us who hunt, shoot and fish, respect for the quarry is paramount and, if we seek excellence in stalking, we must also aim for excellence in rifle marksmanship. This is a skill as well as a responsibility, and like any skill it carries elements of natural ability and physical capability, both of which can be significantly improved by practice, training and experience.
I do not advocate long shots on quarry; I believe we all need to shoot within our own personal known and practised range limits. Our ability to group within known kill zone sizes at that distance is a key part of that decision.
Whatever the quarry – deer, foxes, even vermin – they are not paper targets for long-range experimentation. We all know that hunting live quarry carries a heavy responsibility to deliver a humane and as near instantaneous death as possible. If you can hit a target consistently at 400 yards, suddenly 150 yards looks much easier indeed.
Within the wider ranks of shooters, we are a diverse church: from ‘gravel bellies’ in F class, adjusting for minute wind changes at 1,000 yards plus, to gallery rifle enthusiasts shooting subsonic rounds at 25 to 50 yards, to tactical shooters who may depend on their skills in challenging situations. Like many churches, some branches may disregard the activities of others. Hence stalkers are often proudly not target shooters, and see no need to punch paper or understand ‘minute of angle’ or sight adjustments. However, this is to lose out on a wider range of possibilities in the field.
This, then, is written from the perspective of what I find works for me – in the field, in major competitions, or teaching shooting clients to be more accurate across all positions. It’s not prescriptive, and while it works for me and others, it may not for everyone. Naturally, Rifle Shooter readers are typically decent rifle shots already! Use and disregard at your pleasure.
As stalkers or hunters, of whatever quarry with the rifle, our key shots are cold bore, shot 1 and shot 2. After that the target has gone. A solid foundation of technique and an understanding of how to gain more positional stability will increase the success rates of these all-important shots when we are ‘out there’.
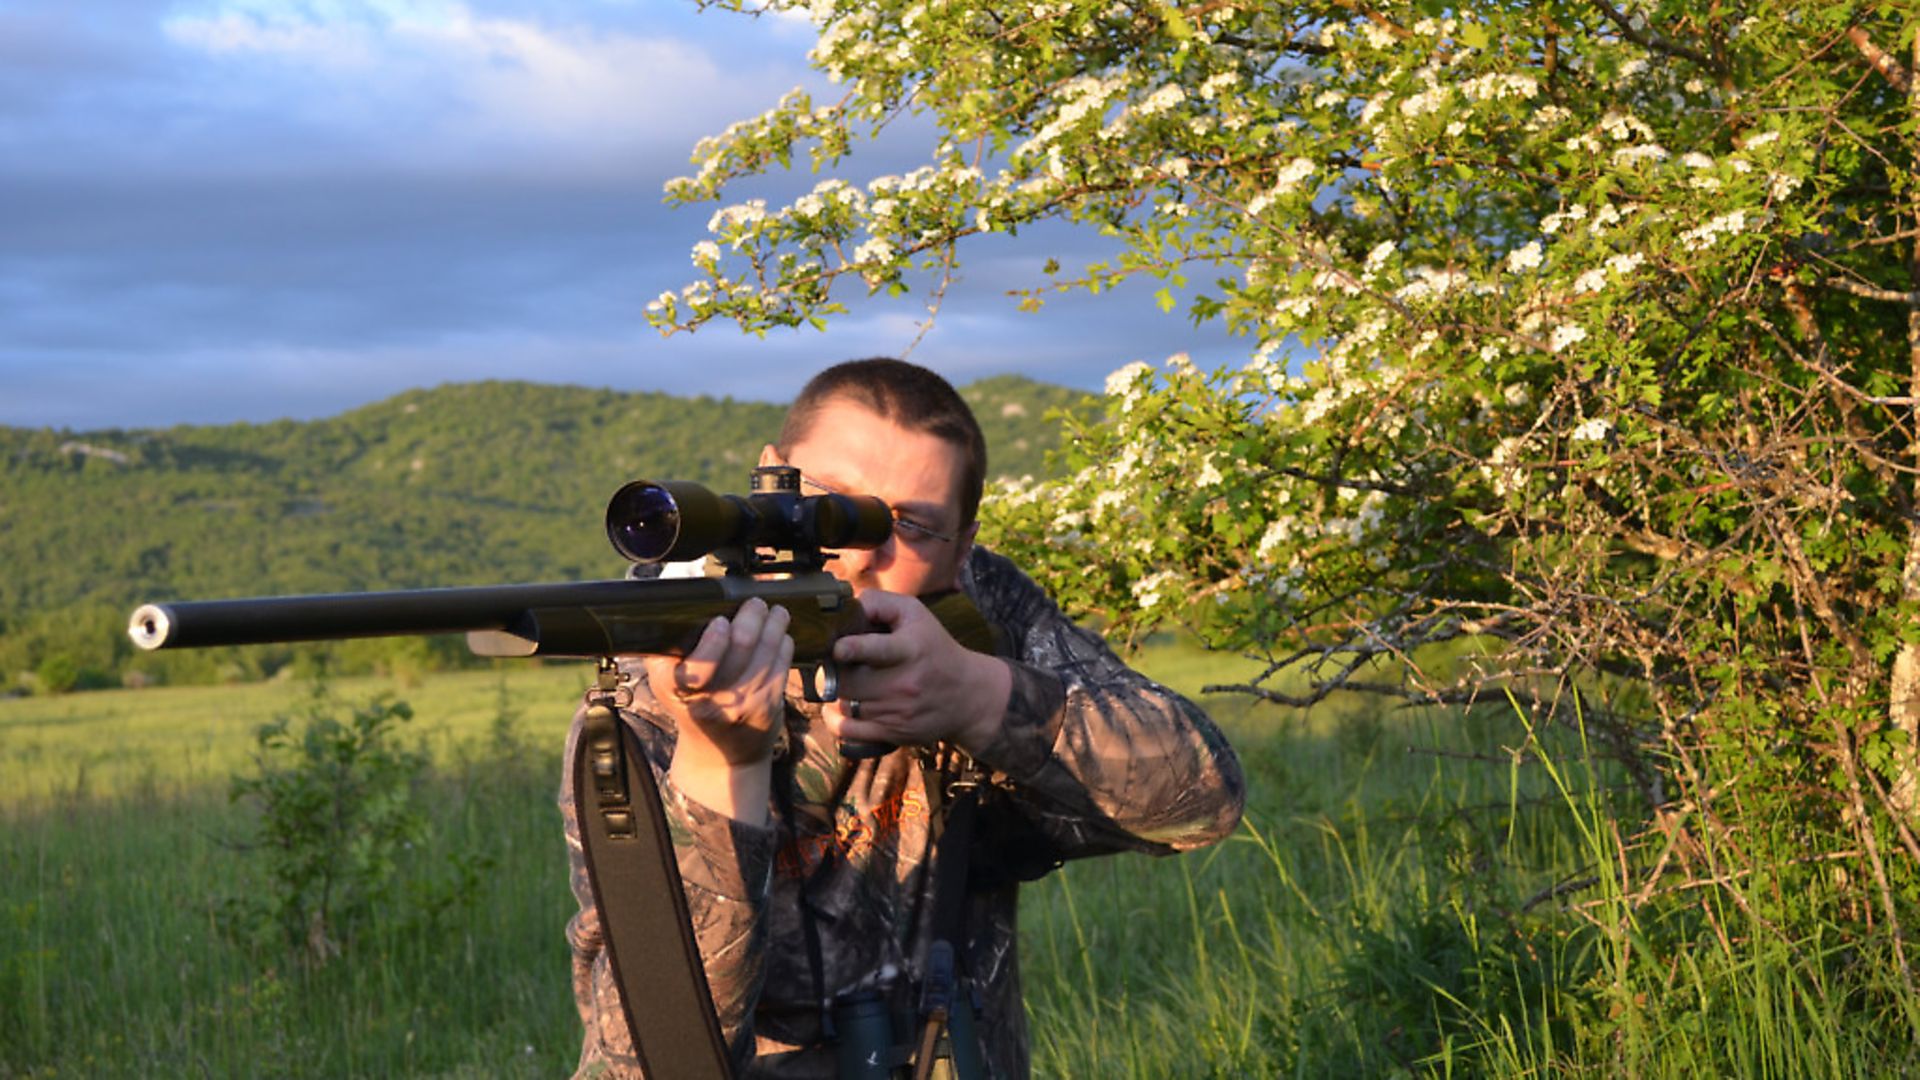 credit: Archant
Shooting Foundations
There is no point in having an excellent kneeling position if you snatch the trigger and lift your head, in the same way that great breathing won’t help you if you wobble when taking a shot from sitting. We need both a foundation of technique and an understanding of stable shooting positions.
My aim here is to cover the foundation of sporting shot technique and position. For those of you shooting at longer ranges on the range or abroad, and needing to know about external ballistics while dialing in for elevation and wind, this will have to wait for another instalment.
Taking a shot is stressful! You may not think so, but your subconscious does! To varying degrees, it is using your fight or flight response to prepare the body for action; this means that subconsciously your breathing quickens, your adrenal system kicks in, and your blood vessels dilate to move blood to leg and arm muscles for action, and away from your core vital organs. Your muscles tense, your pulse rate quickens.
This is almost the opposite of the ideal physical condition you need to make a steady, accurate shot. Training, repetition and familiarity are the ways to counter this reaction, as well as shooting sensible calibres. Training will program your subconscious to react more rationally, and will create muscle memory, reproducing the same shot cycle each time. This means predictability and accuracy for you.
A shot starts from a foundation of sight picture, breathing, trigger control, stock weld, and follow through, which remains the same regardless of range or the position the shot is taken from.
These basics are worth practising repeatedly until the rifle and sights you shoot with feel like an extension of you. Your next shot under pressure will, I guarantee, be less stressful and less challenging as a result of 30 minutes of practising the basics below weekly.
 credit: Archant
A) Sight picture and sight alignment
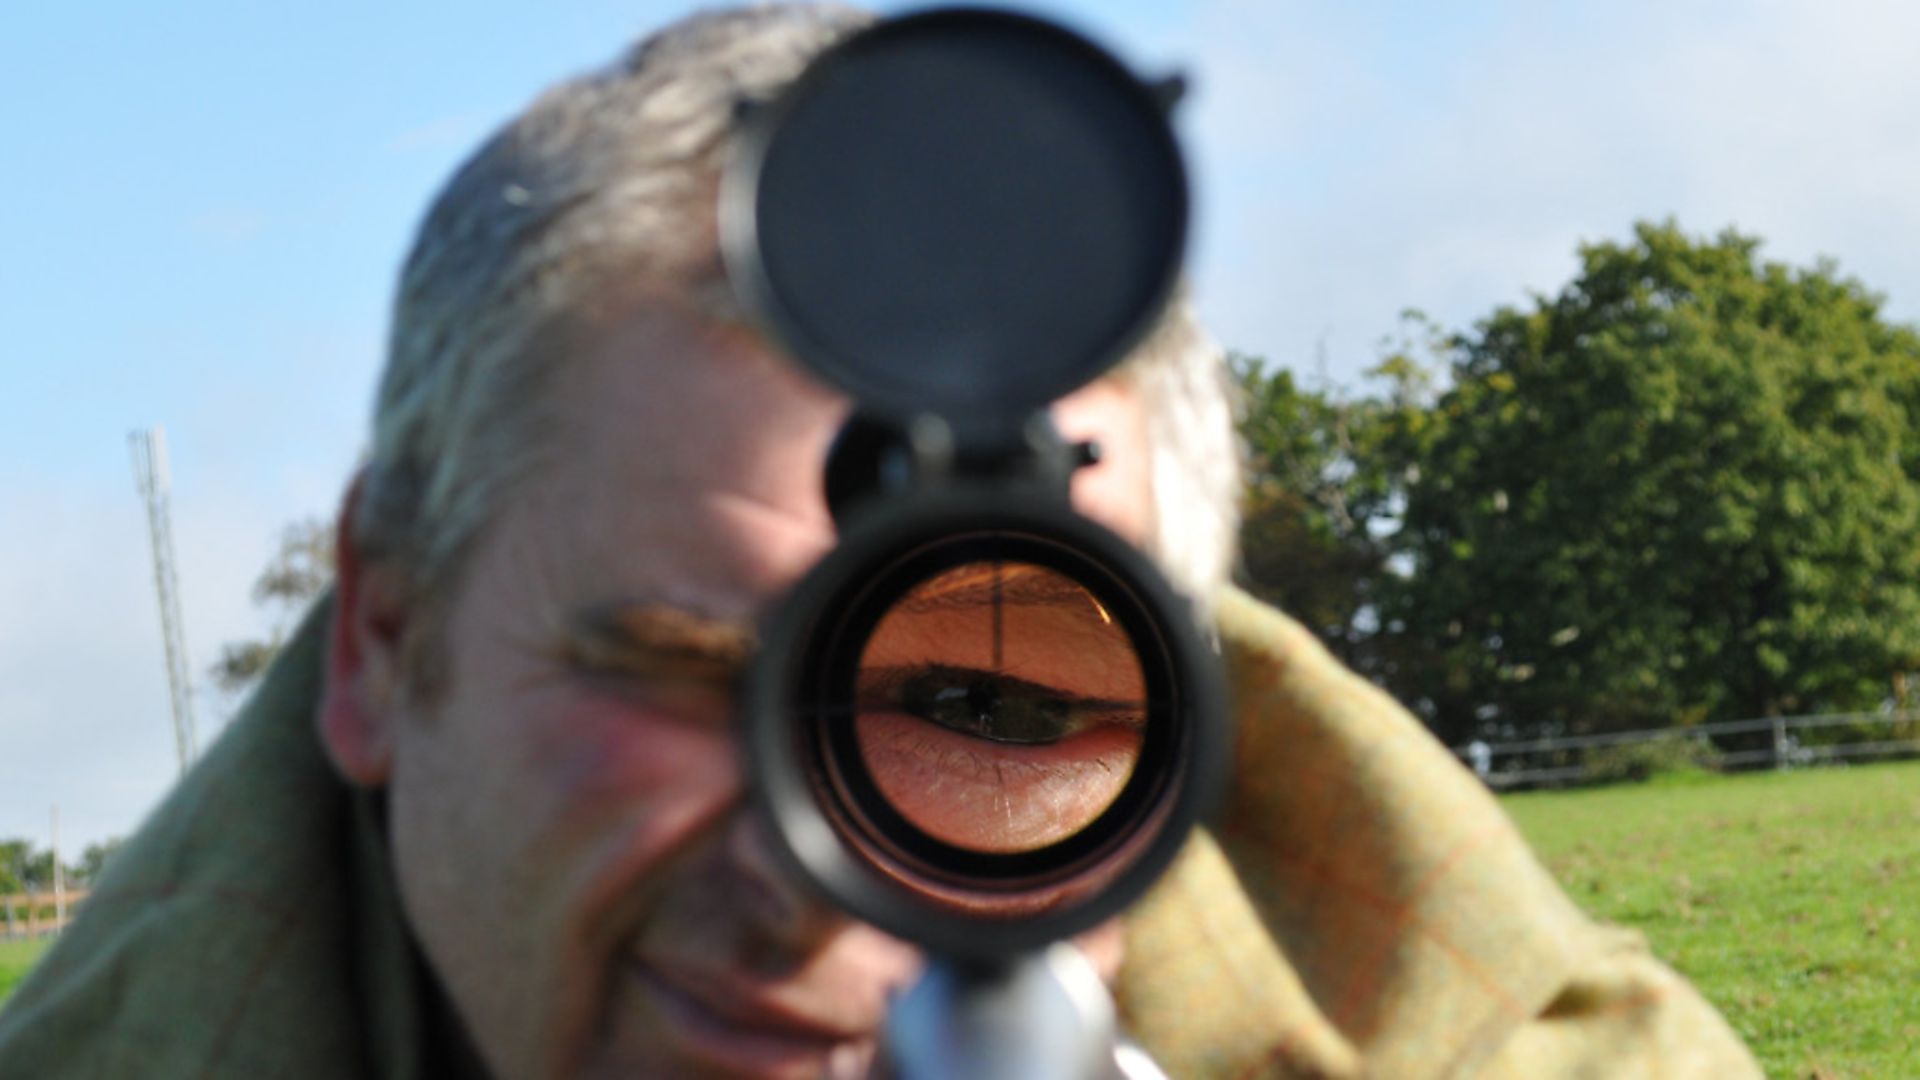
Sight picture is often overlooked because it becomes second nature and automatic for many. However, at longer ranges it can throw shots off target, so it is still worth checking that our target is naturally aligned with the rifle sights and we are not ‘muscling’ the rifle onto the target, especially from prone.
Look for no shadowing or blackness around the sight picture, and ensure you are parallax-free at that range. To test for this, move your head slightly up and down on the stock – if the crosshairs are stationary on the target you are correctly adjusted for parallax. Not to be so allows discrepancy between shot placement and crosshair movement on the target.
Parallax adjustment is via the distance focus wheel on your scope. Many mid- and low-end sporting scopes do not have this adjustment, but will be built with a fixed distance setting. Personally, I never buy a scope without as it limits the usefulness at range. However, ignore at normal ranges if yours does not adjust.
B) Stock weld
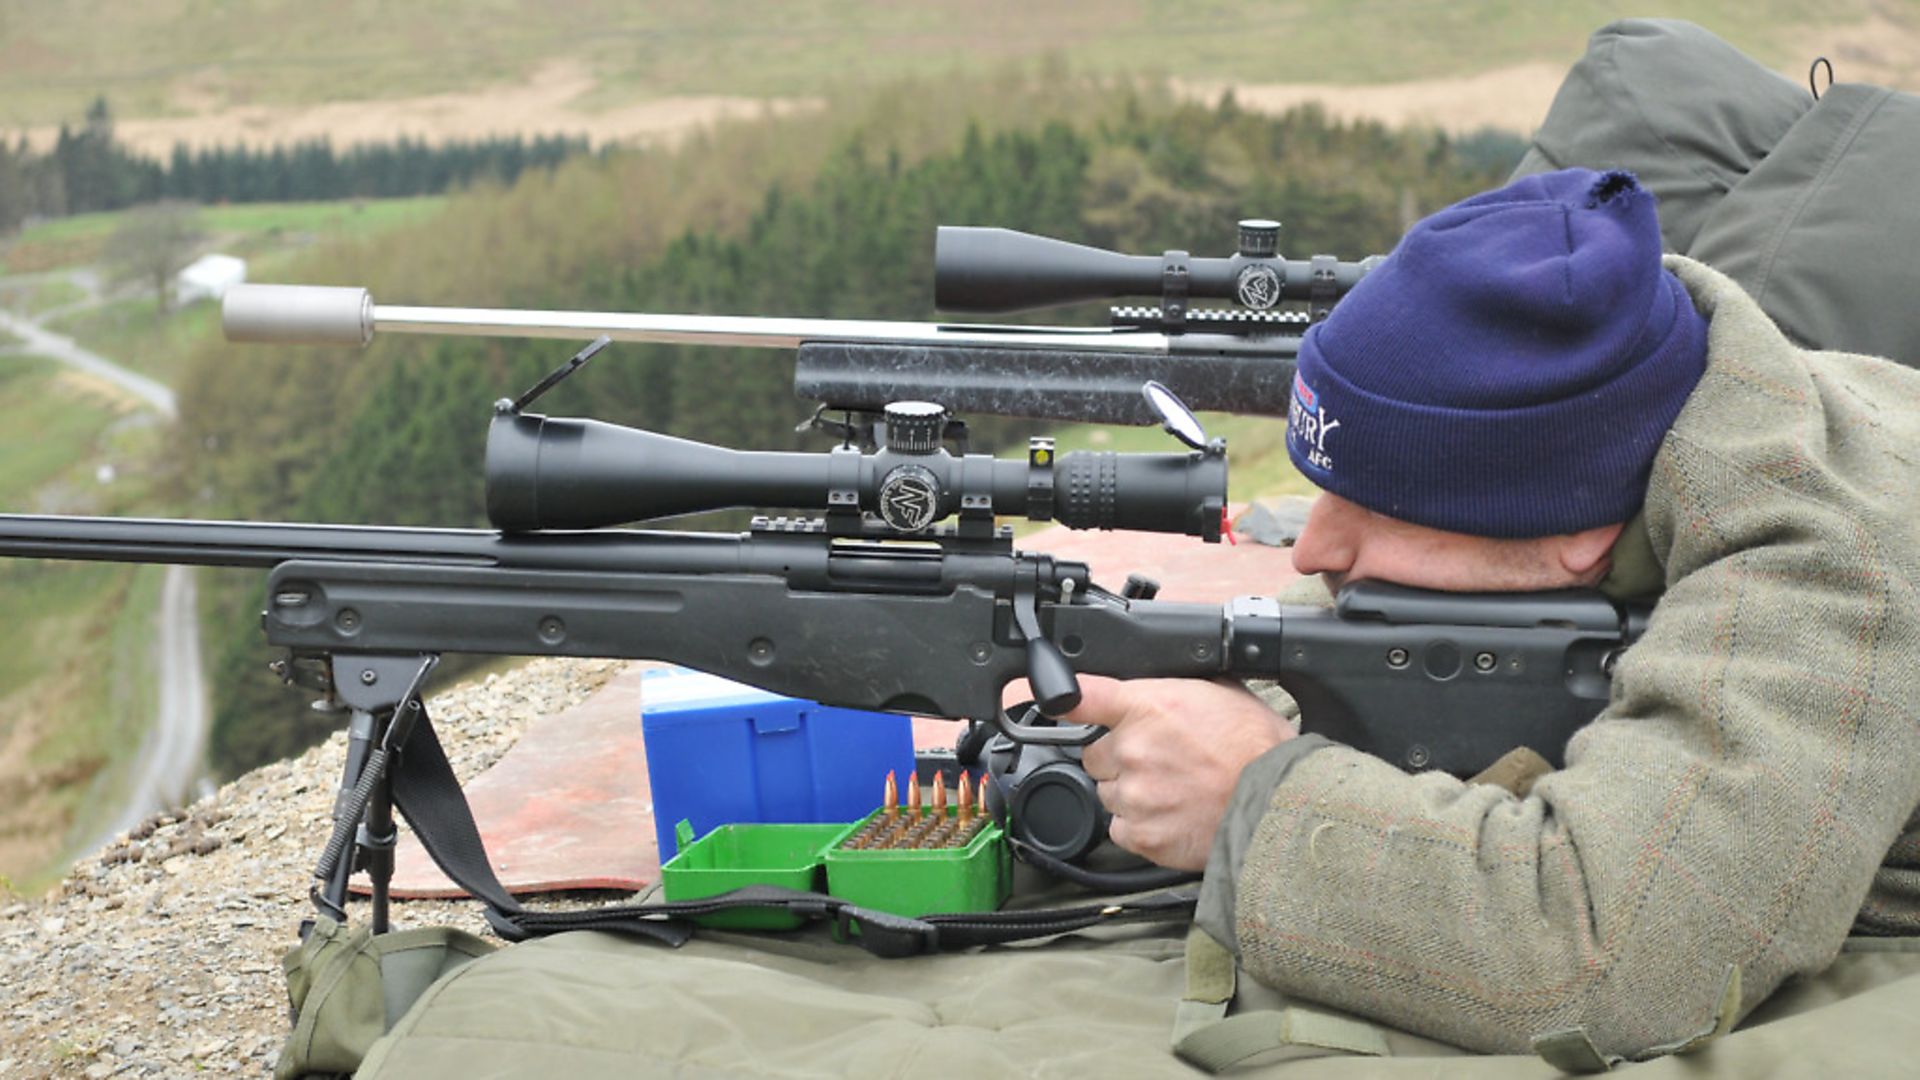
‘Stock weld’ is ensuring you have the same head position and contact points for each and every shot (within the constraints of the position).
Your head and eye should be comfortably aligned with the sights, your head quite vertical and your face relaxed, not tensed into position. Any muscle tension could induce movement or tremor and should be removed, if necessary by adjusting the stock or sights.
 credit: Archant
Make the stock and rifle work for your natural head position, not the other way around.
C) Breathing
Breathing is often a problem area due to the physiological reasons outlined above as a reaction to stress. It is imperative that we have our breathing smooth and under control when we shoot to ensure our muscles have enough oxygen not to get fatigued, and hence tremble. We must not rush due to needing to take another breath too soon – if so, take another and wait out the shot for another breathing cycle rather than rush off a poor shot.
We all have a natural respiratory pause, which is all that is required to release the shot, and it is longer than we think. Once we have solid sight alignment from our position, we begin to control our breathing cycle while starting pressure on the trigger. Your own natural pause may be at the end of your exhale, someone else may prefer after an inhale. Either works, we just need stillness in our chest while we take the shot.
 credit: Archant
If you find your breathing is not under control due to tension, a simple tip is to do 4x4 breathing: breathe in counting to four, hold counting to four, breathe out counting to four, and pause counting to four. This should bring you back under control. It also serves to reduce your heart rate.
D) Trigger control
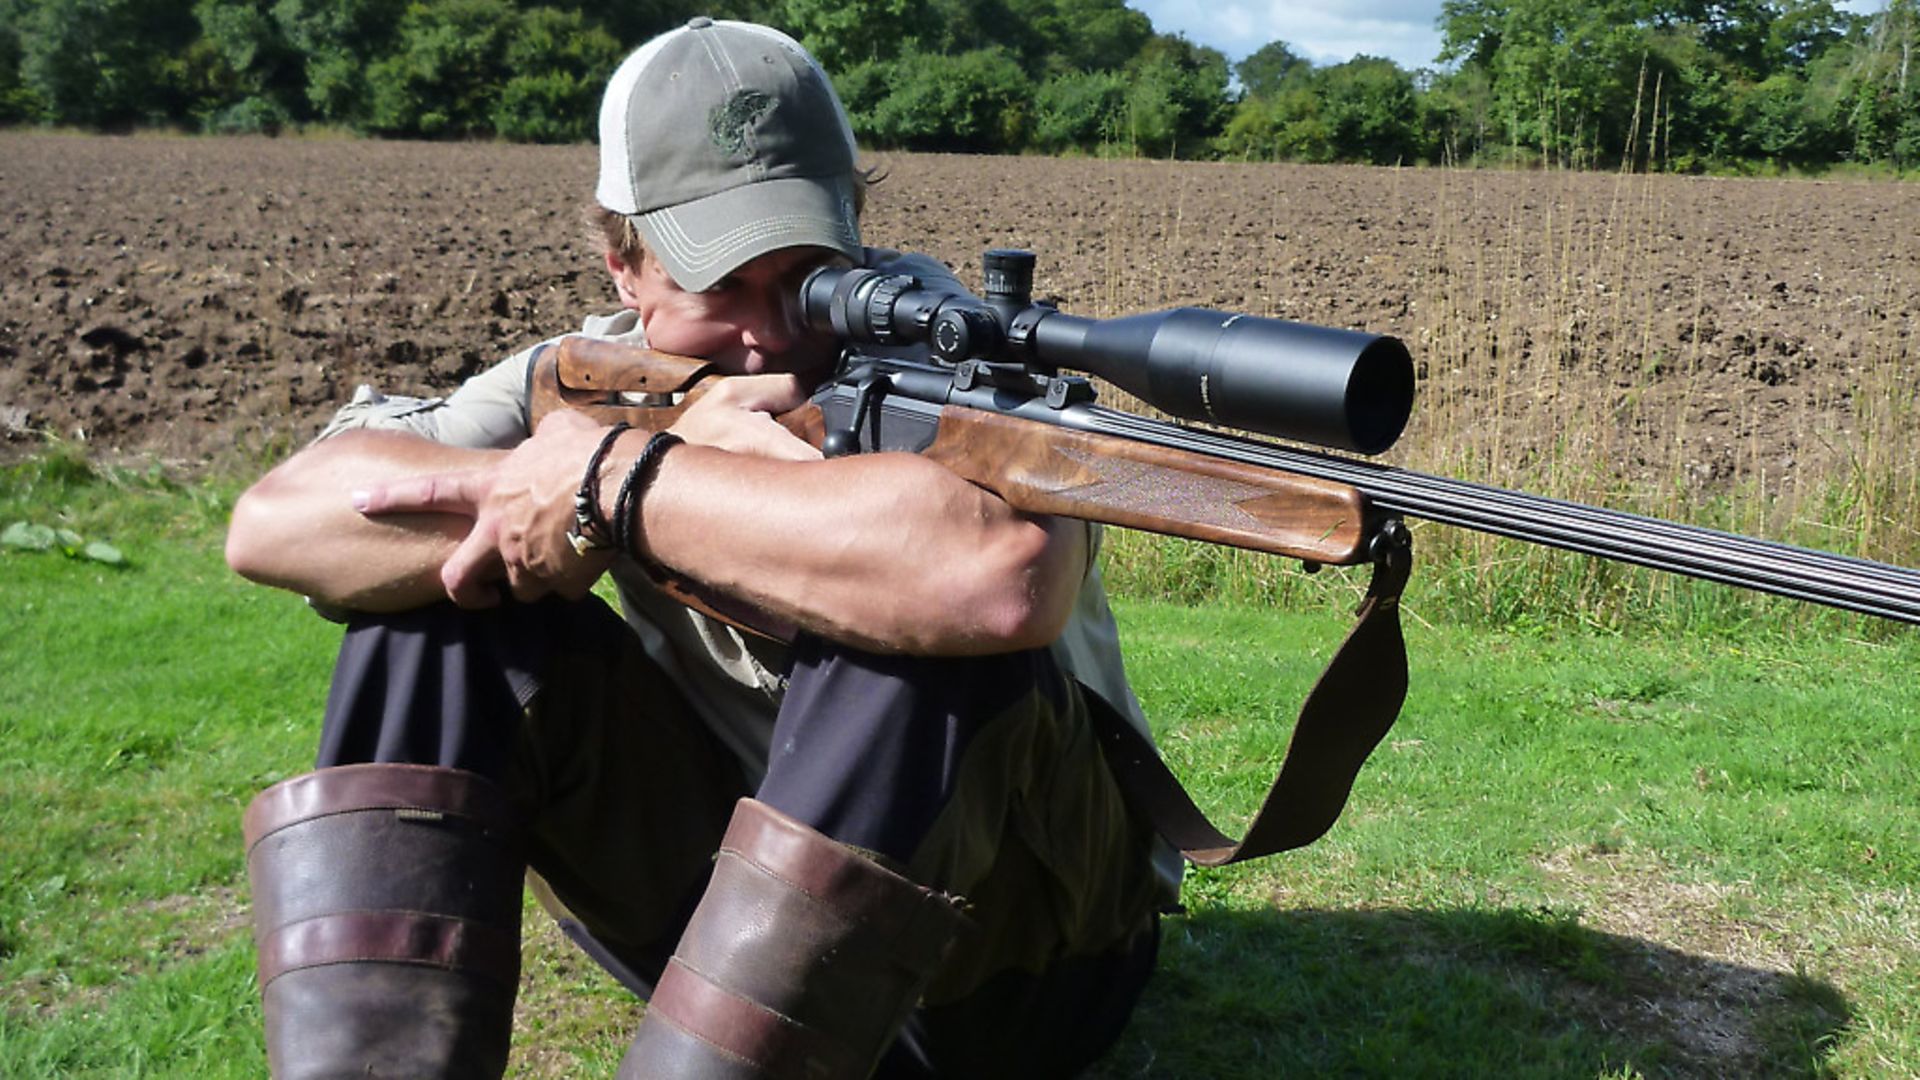
A trigger should be steadily squeezed, not pulled. The time between trigger release and the bullet leaving the barrel is critical – instantaneous to us, but long enough for a miss to be induced if badly done. The trigger is not the final part of a shot but is actually near the beginning, and we need to practise not disturbing our rifle while the bullet is in motion in the barrel.
As stalkers, our natural instinct is to want to watch the quarry’s reaction to the shot and to reload. Both can be counterproductive and can sacrifice the shot. Trigger control is about steady gentle pressure from the top pad of your first finger, applied directly back towards the rear of the rifle. The three fingers below that are taking the pressure of pulling your rifle stock tightly back into your shoulder. Your thumb is squeezing towards your trigger finger. Your shot release occurs as a side effect of your finger pressure and should not be anticipated to avoid flinching.
 credit: Archant
Have a friend load two magazines for you, randomly including some fired empty brass cases. If your rifle moves when you pull the trigger relative to the target when hitting an empty, then you have a flinch. Dry firing and rimfire practice for a significant number of rounds can remove it.
E) Follow through
Movement too soon after your shot causes many accuracy issues. After shot release, count to two before you reload or move any part of yourself, including your head. Logically, the best place for you to see the target or quarry is through your scope, not with your naked eyes.
Stay stationary on the target, count to two, and then reload. It is a momentary pause that will ensure you automatically begin to avoid the common error of lifting your head to see what’s happened down range – too early!
 credit: Archant