Many hunters wish to turn their hunt into a lasting memory by preparing the head as a trophy. Here, Chris Rogers of the CIC Trophy Evaluation Board provides a step by step guide
 credit: Archant
In handling the number of trophies the CIC UKTEB do, there is a great variety in the standard of trophy preparation. Some hunters take meticulous pride in the way they prepare a skull, while others, usually newcomers to stalking, either do a poor job from lack of knowledge or simply leave the head to rot in the open air or bury it. Although time consuming, preparing a head before the flesh starts to rot will usually result in a much better looking trophy to display, free from smell and discoloured bone.
It is also worth considering that we have to handle trophies to measure them, and each a year a small number will be sent back to the owners to re-clean before we will evaluate them. Species such as red, fallow and roe may also lose points in the evaluation process if they have been left to rot out, as the colour will usually fade as the surface of the antler weathers. In the case of roe, this may lead to issues in taking the volume of the antlers as the trophy may become porous which will render it un-measurable. So, with this in mind, how should you prepare a trophy?
If you take a good stag or buck and don’t have time to clean the trophy immediately, there are three options to prolong the time before the flesh starts to rot.
1. Keep the head refrigerated (this gives you a couple of weeks)
2. Place the head in cold water, changing the water every day (this will give you a week, but be careful to keep the antlers out of the water or they may discolour)
3. In the case of the smaller deer, or if you have a big enough freezer, place the head in the freezer for an indefinite amount of time, certainly a couple of years will not harm the skull or antlers although the skin may dry a little over long periods of time.
Once you are ready to prepare the trophy, soak it in water for 24hrs. You don’t have to do this but it does help draw the blood out of the skull which will give you a better result if you’re not using peroxide to bleach the final clean skull. As the preferred skull finish for CIC evaluations is now ‘full skull’, this is how I will be describing the process. Trophies can then be cut after the measurement if you wish.
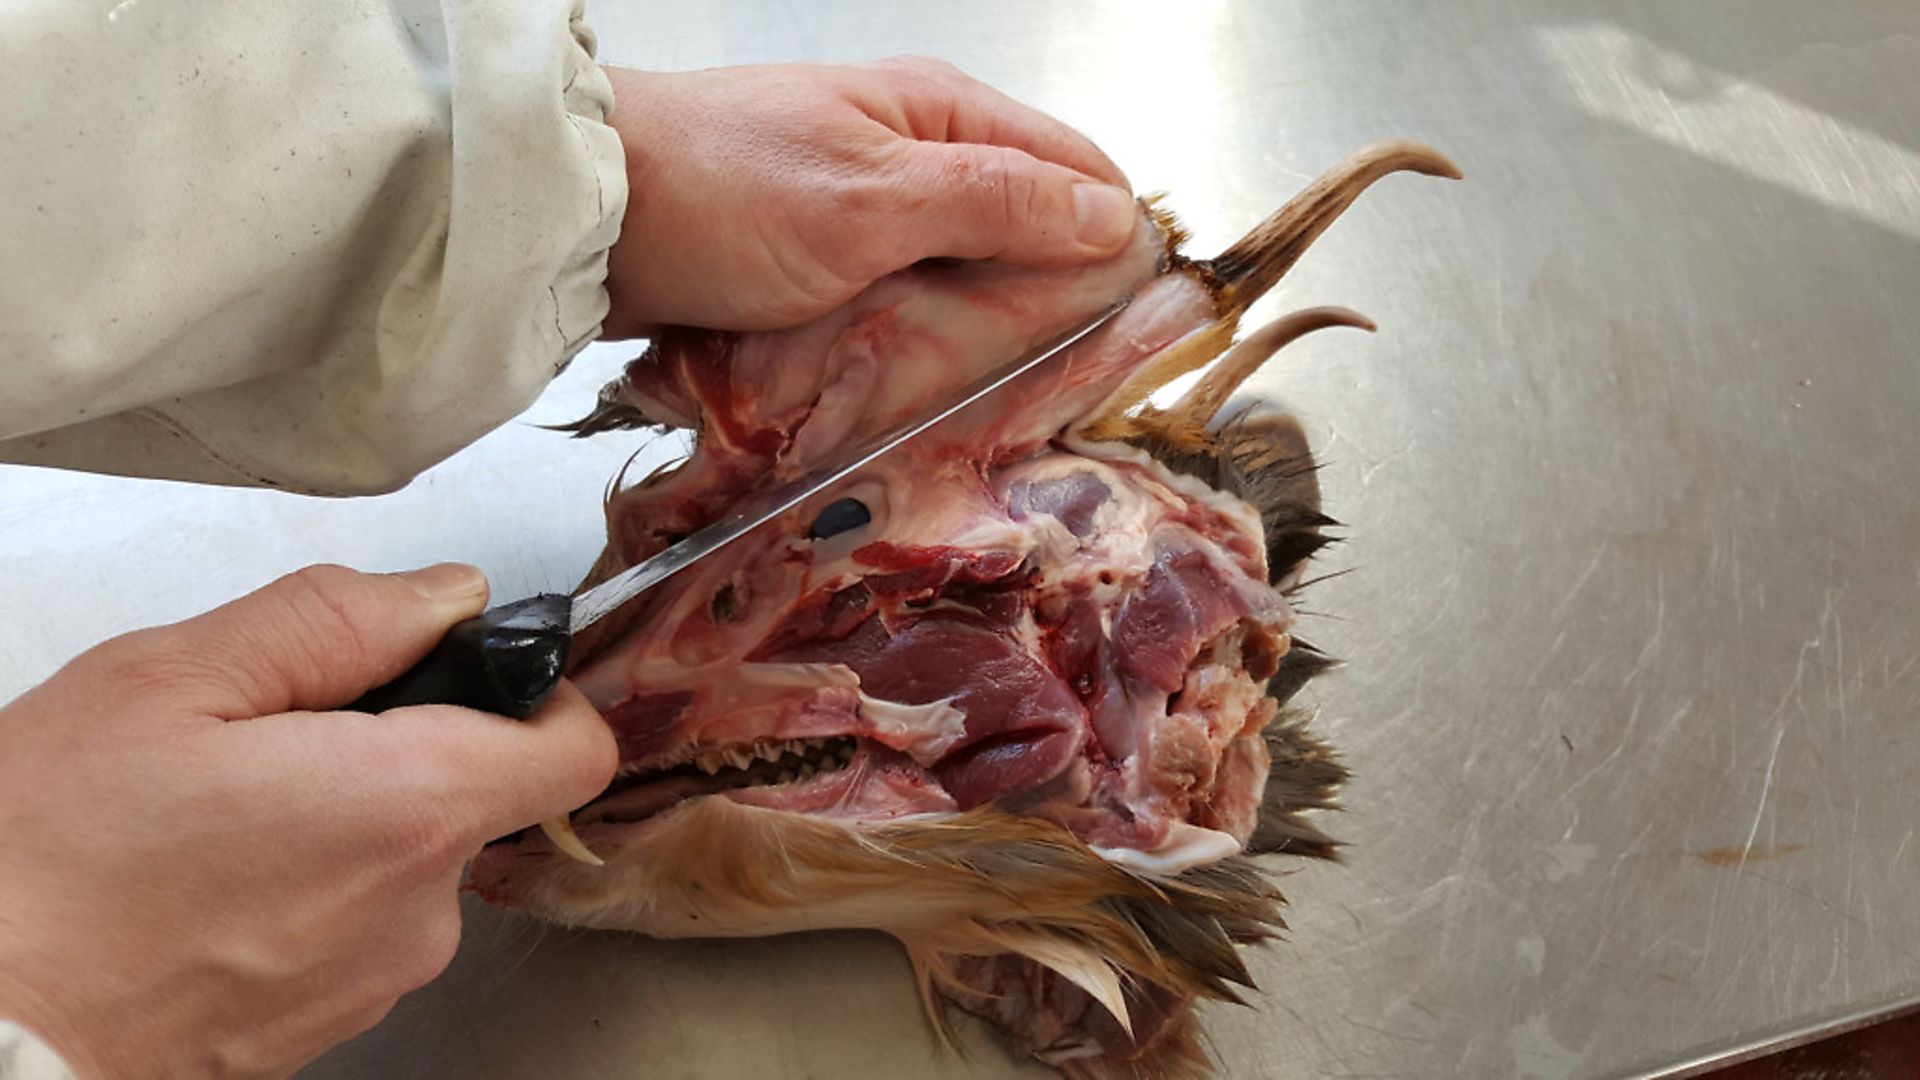
Step 1: Remove the skin. There’s no right or wrong way to do this but I start by splitting open the cheek and working around the head.
 credit: Archant
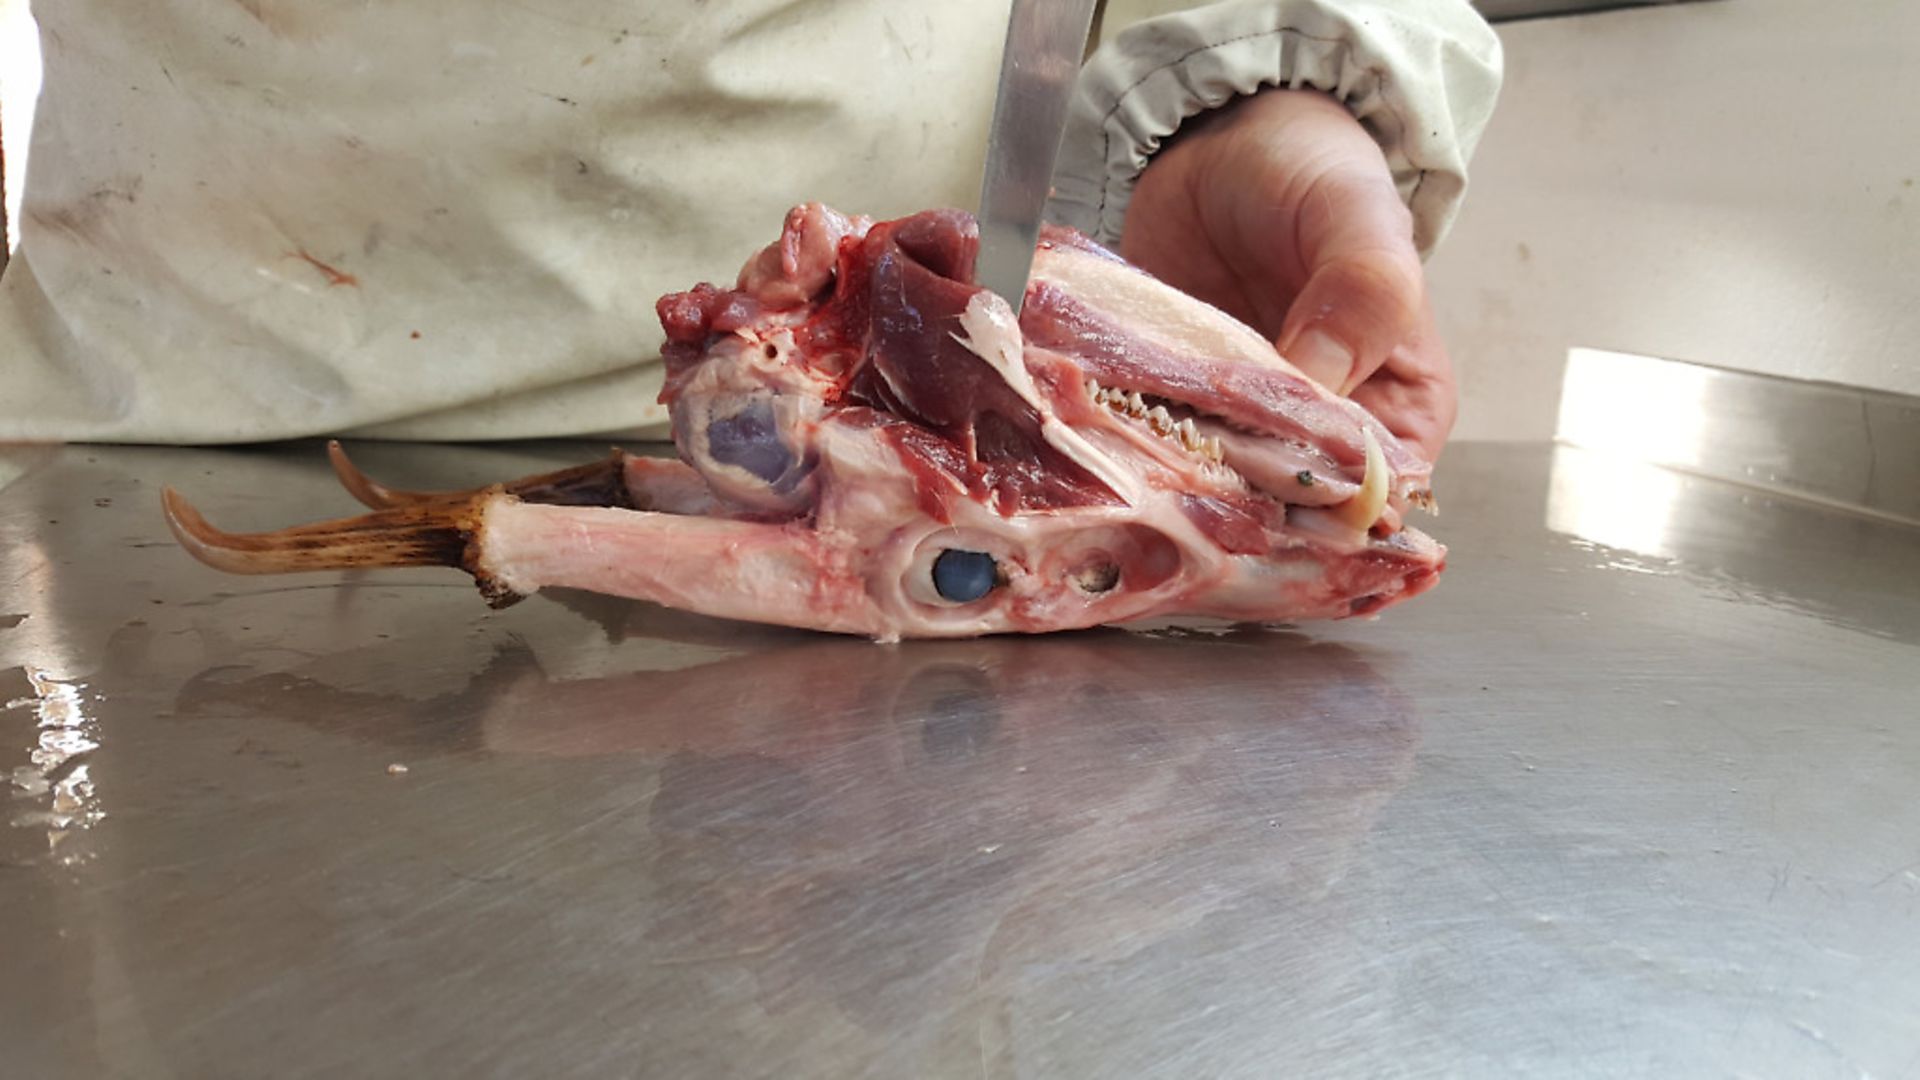
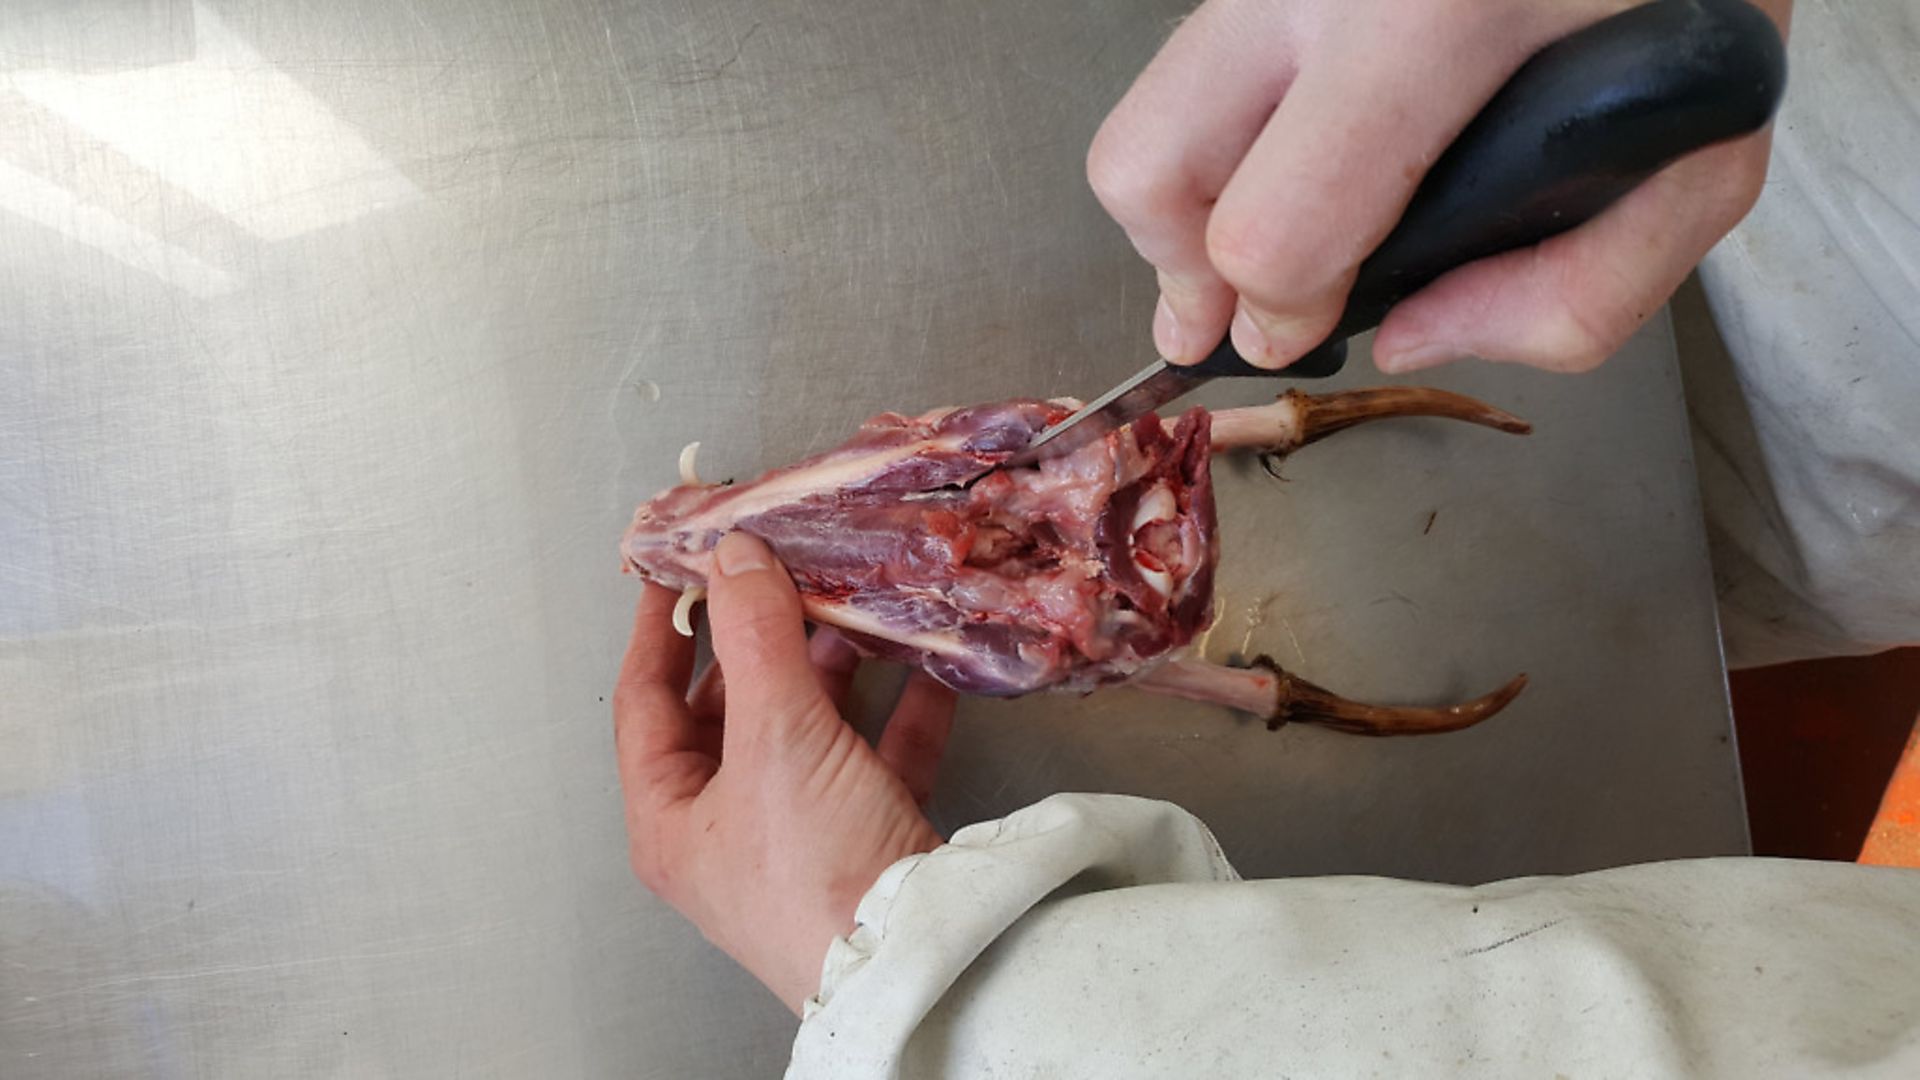
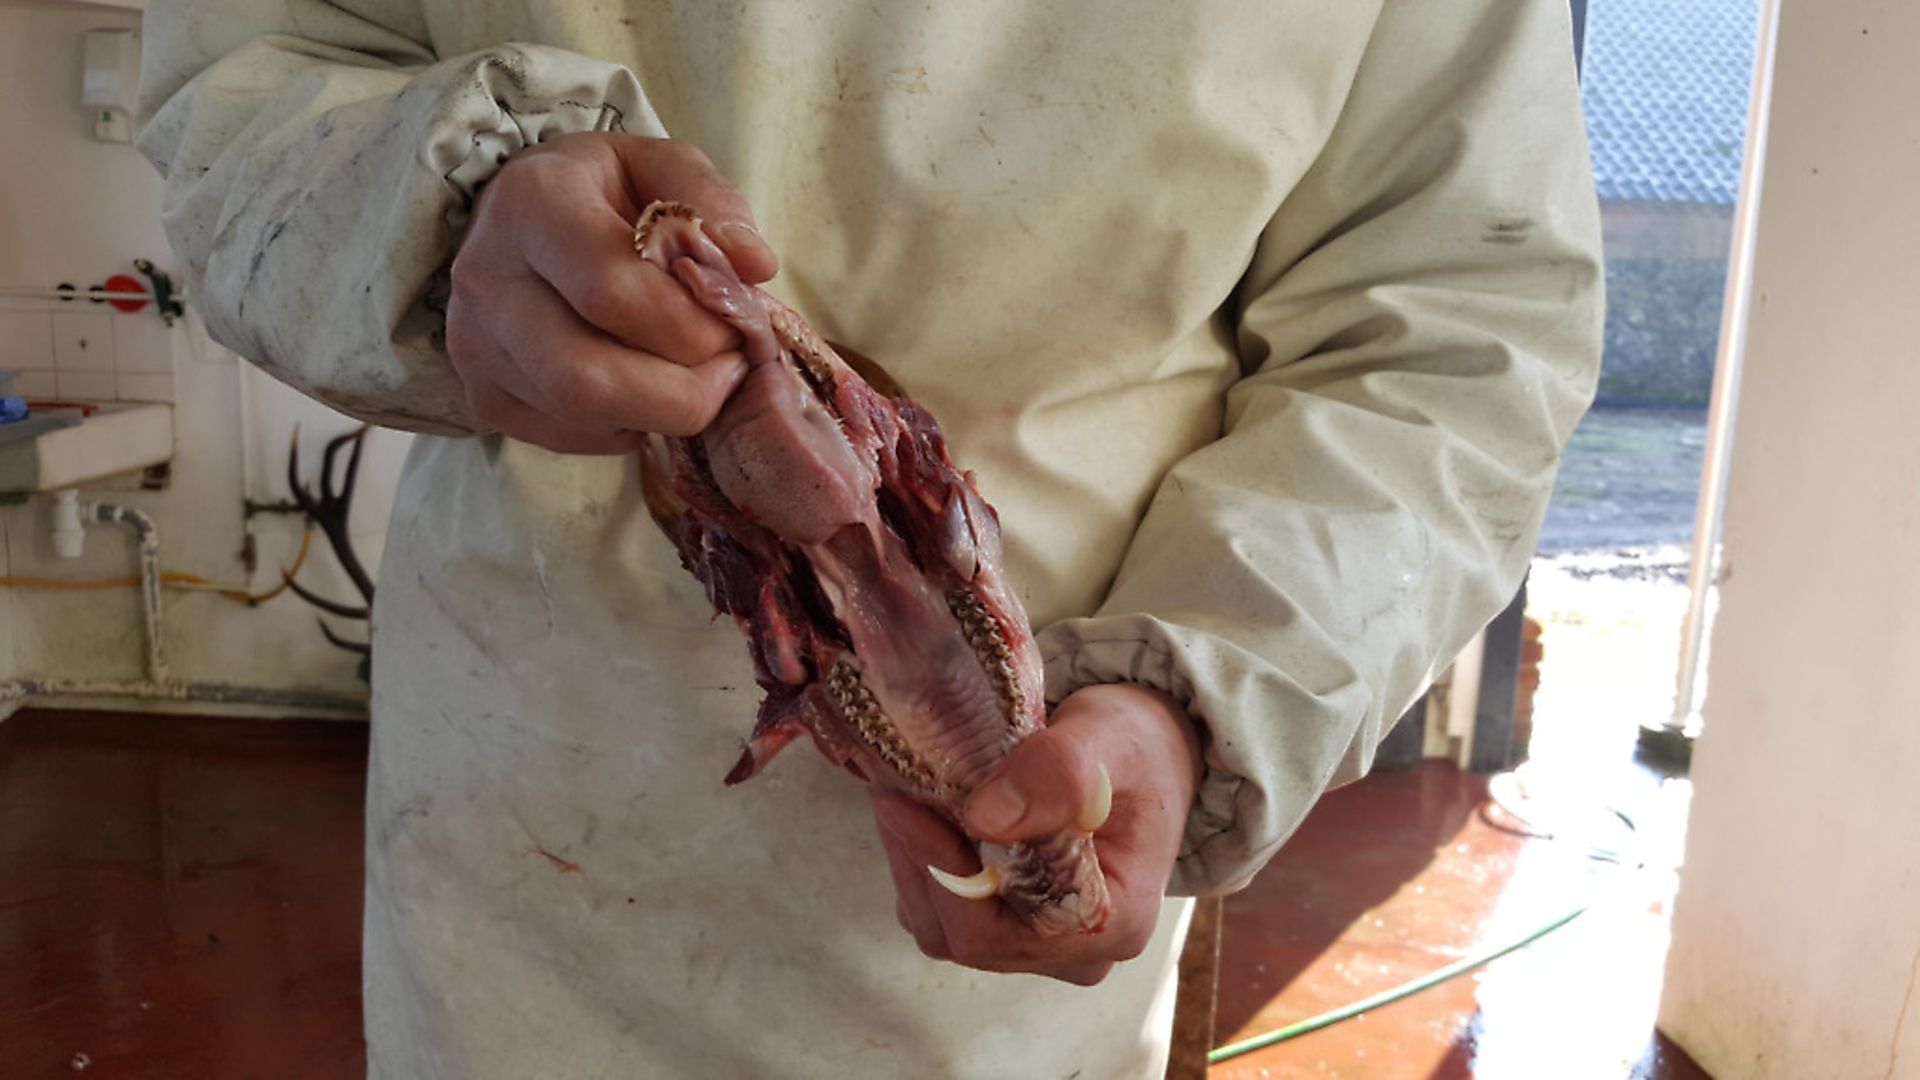
Step 2: Remove the bottom jaw by cutting down the inside of the jaw bone from the nose to the back of the head, and cutting the cheek muscles on the outside of the face. You can then pull the jaws apart until the joints come out of the upper head. Be careful you don’t cut your fingers or hand on the sharp incisors and in the case of muntjac or CWD the tusks!
 credit: Archant
 credit: Archant
 credit: Archant
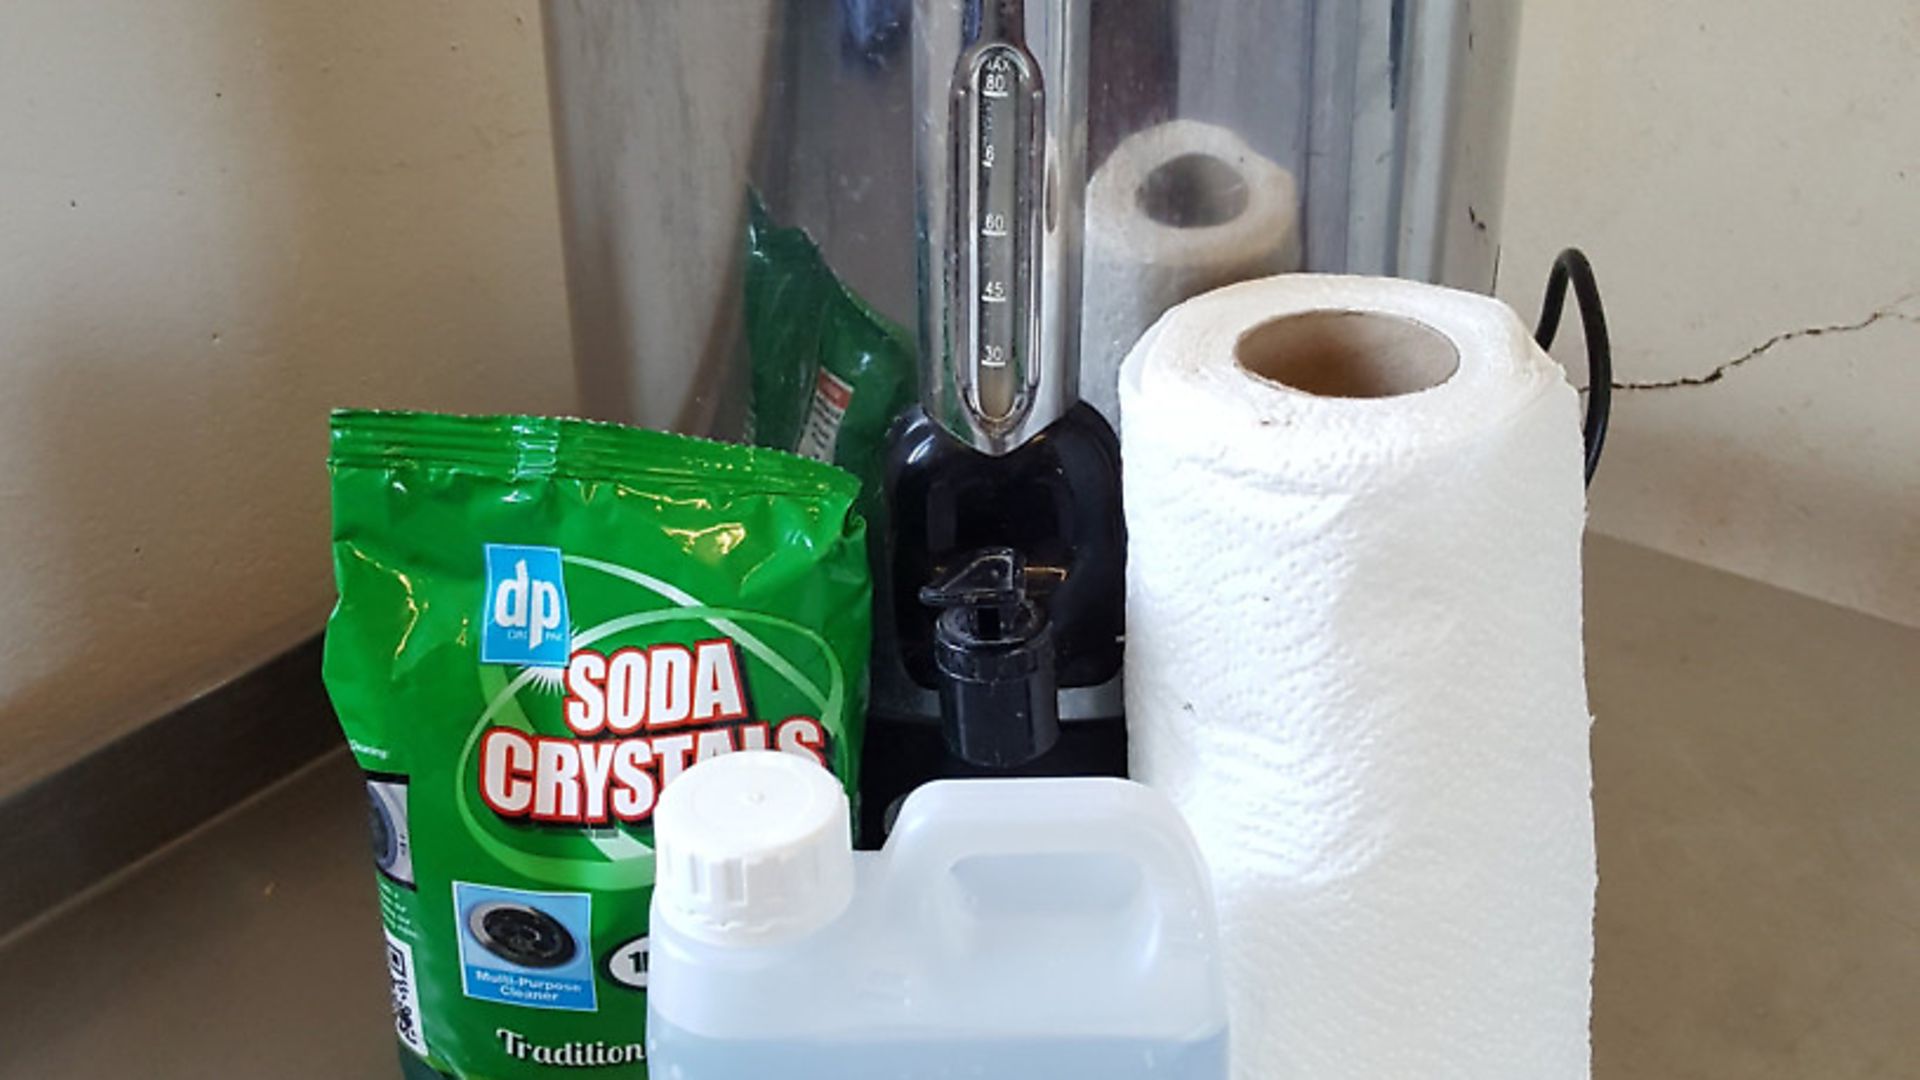
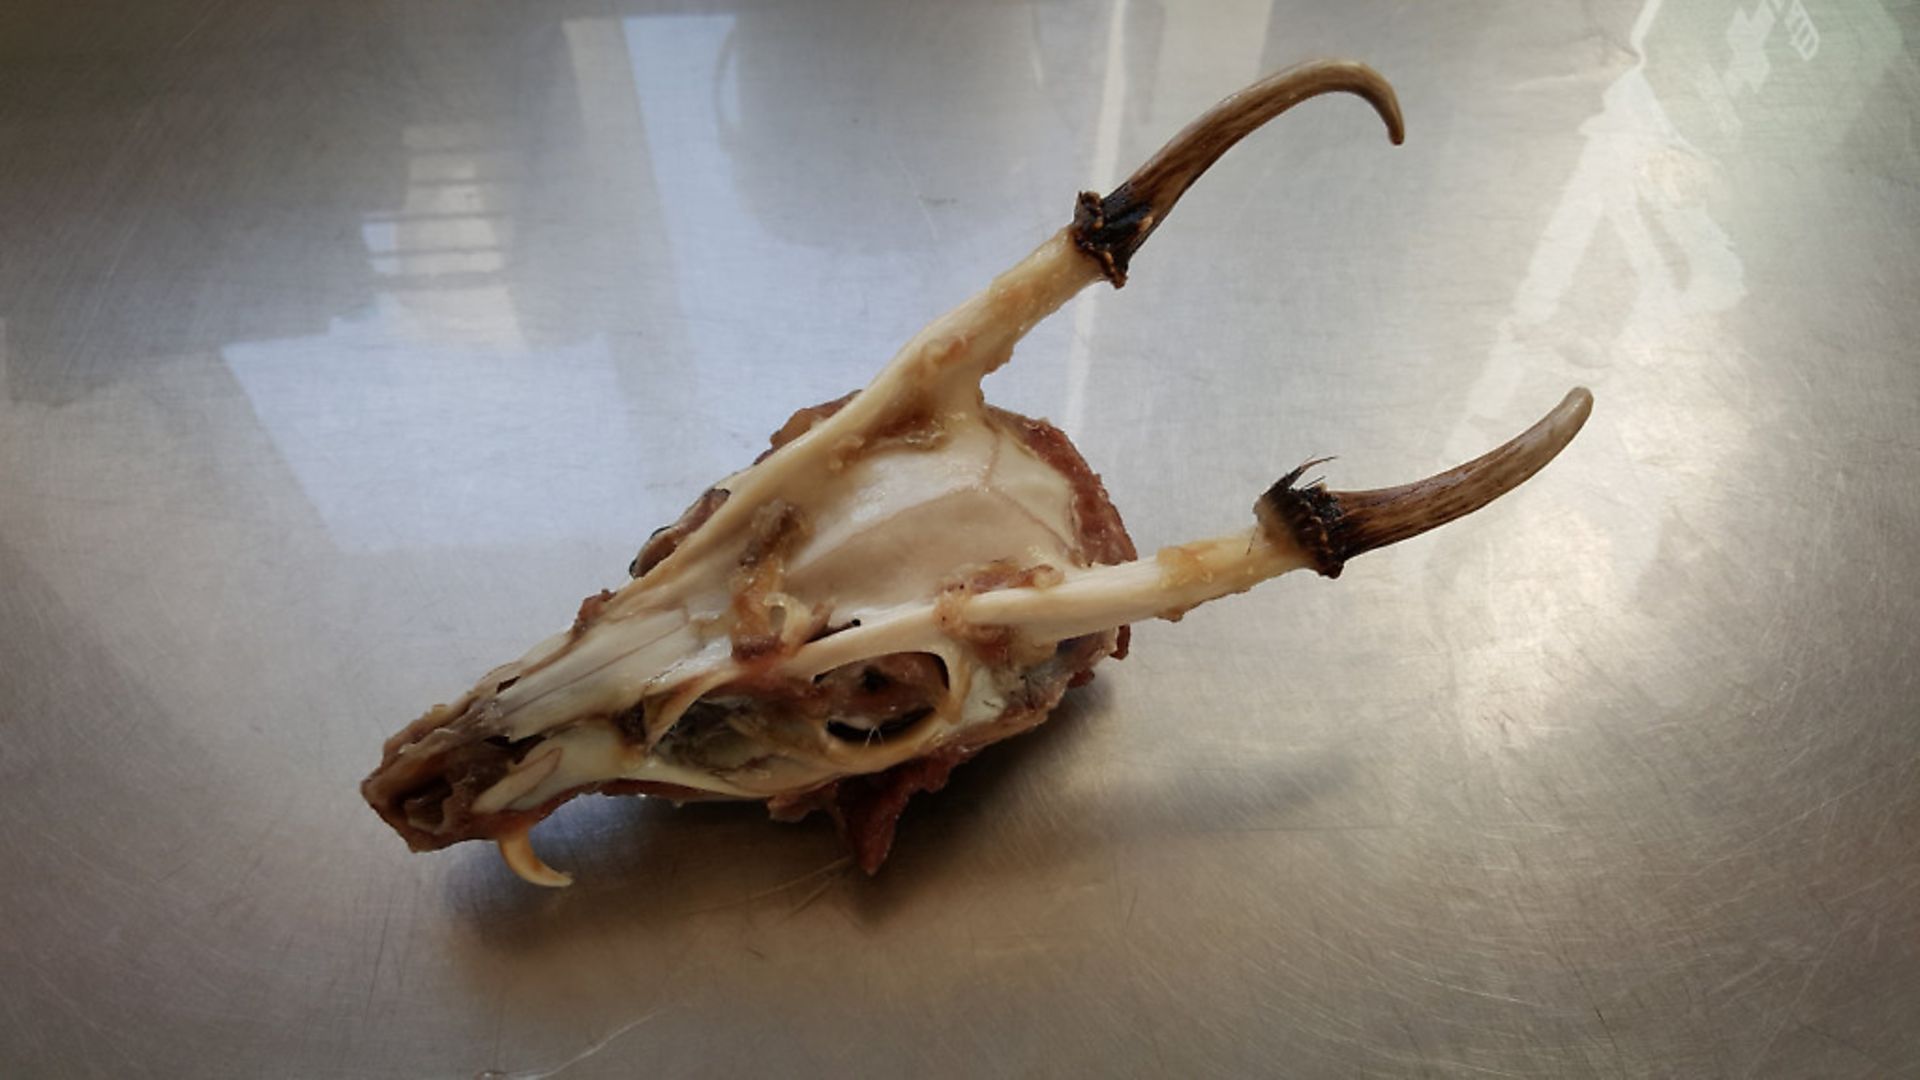
Step 3: Place your full skull into simmering water, to which you have added some soda crystals. Ensure the antlers aren’t covered by the water as some of the colour may be lost. You can wrap a length of wire round the trophy and hang it over the edge of your pot to hold the head upright as required.
Step 4: Simmer your trophy in the water. Avoid a boil as this can quickly cook the meat making it tough and harder to remove. What you really want is slow cooked meat. The soda crystals will help break down the fat but be careful of over cooking it as the bone joints may start to loosen. Different species and ages of animal will require different cooking times, but as a rough guide muntjac and cwd should be ready after 30 mins, roe after 30-45 mins, fallow and sika after 60 mins and red deer after 60-180 mins plus, depending on their size i.e. highland or lowland. A head is ready when the meat has cooked off the front of the skull and it is tender and very soft around the back of the skull where the atlas joint is. Cooking without soda crystals will greatly increase the time.
Step 5: Take the head out of the simmering water and place immediately into cold water to cool the bone down. From this point on, the skull needs to be kept wet, if it is allowed to dry the bleach will not be as effective.
 credit: Archant
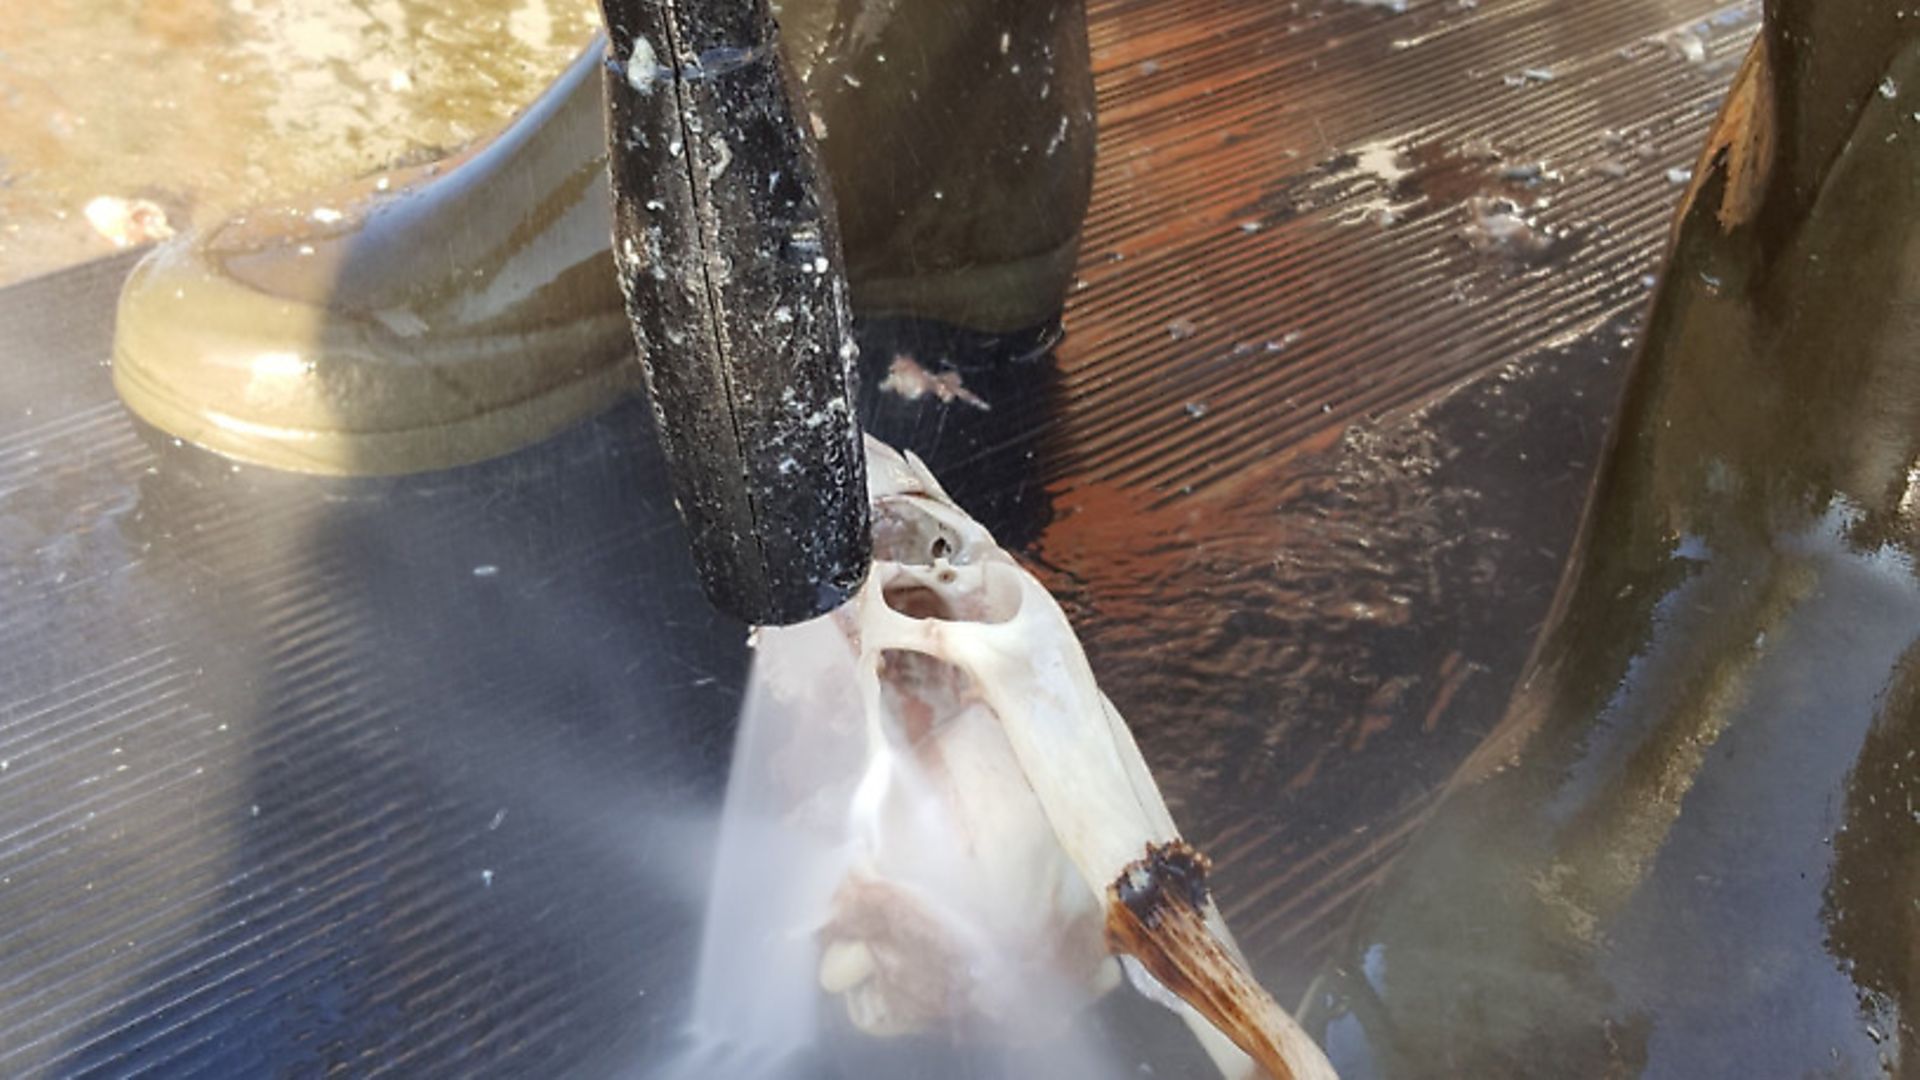
Step 6: Clean the skull (if possible) with a pressure washer. If you do have access to a pressure washer be sure to place the head on a rubber mat rather than straight onto concrete, as this will scratch the skull and antlers while you are spraying it. Also, don’t let the jet touch the antlers at close distance as this will strip the colour immediately. It is best to remove loose tusks and nasal bones before you start spraying in case they come off in the cleaning process. These can be glued back on once the whole trophy cleaning, bleaching and drying process is finished (don’t glue CWD tusks back into the skull until after the CIC evaluation!) If you don’t have access to a pressure washer, welcome to the good old days! Scrape the trophy with a blunt knife to remove the meat. A wire brush can be used on the back of the skull to remove meat and gristle from the nooks and crannies. You can also remove a small area of bone at the back of the skull to help clean the brain cavity by inserting a metal rod into the ear channels and cracking the bone out by moving the rod around. If you are using a pressure washer you should be able to blow the brains out of the skull and remove the inner membrane with a pair of forceps.
 credit: Archant
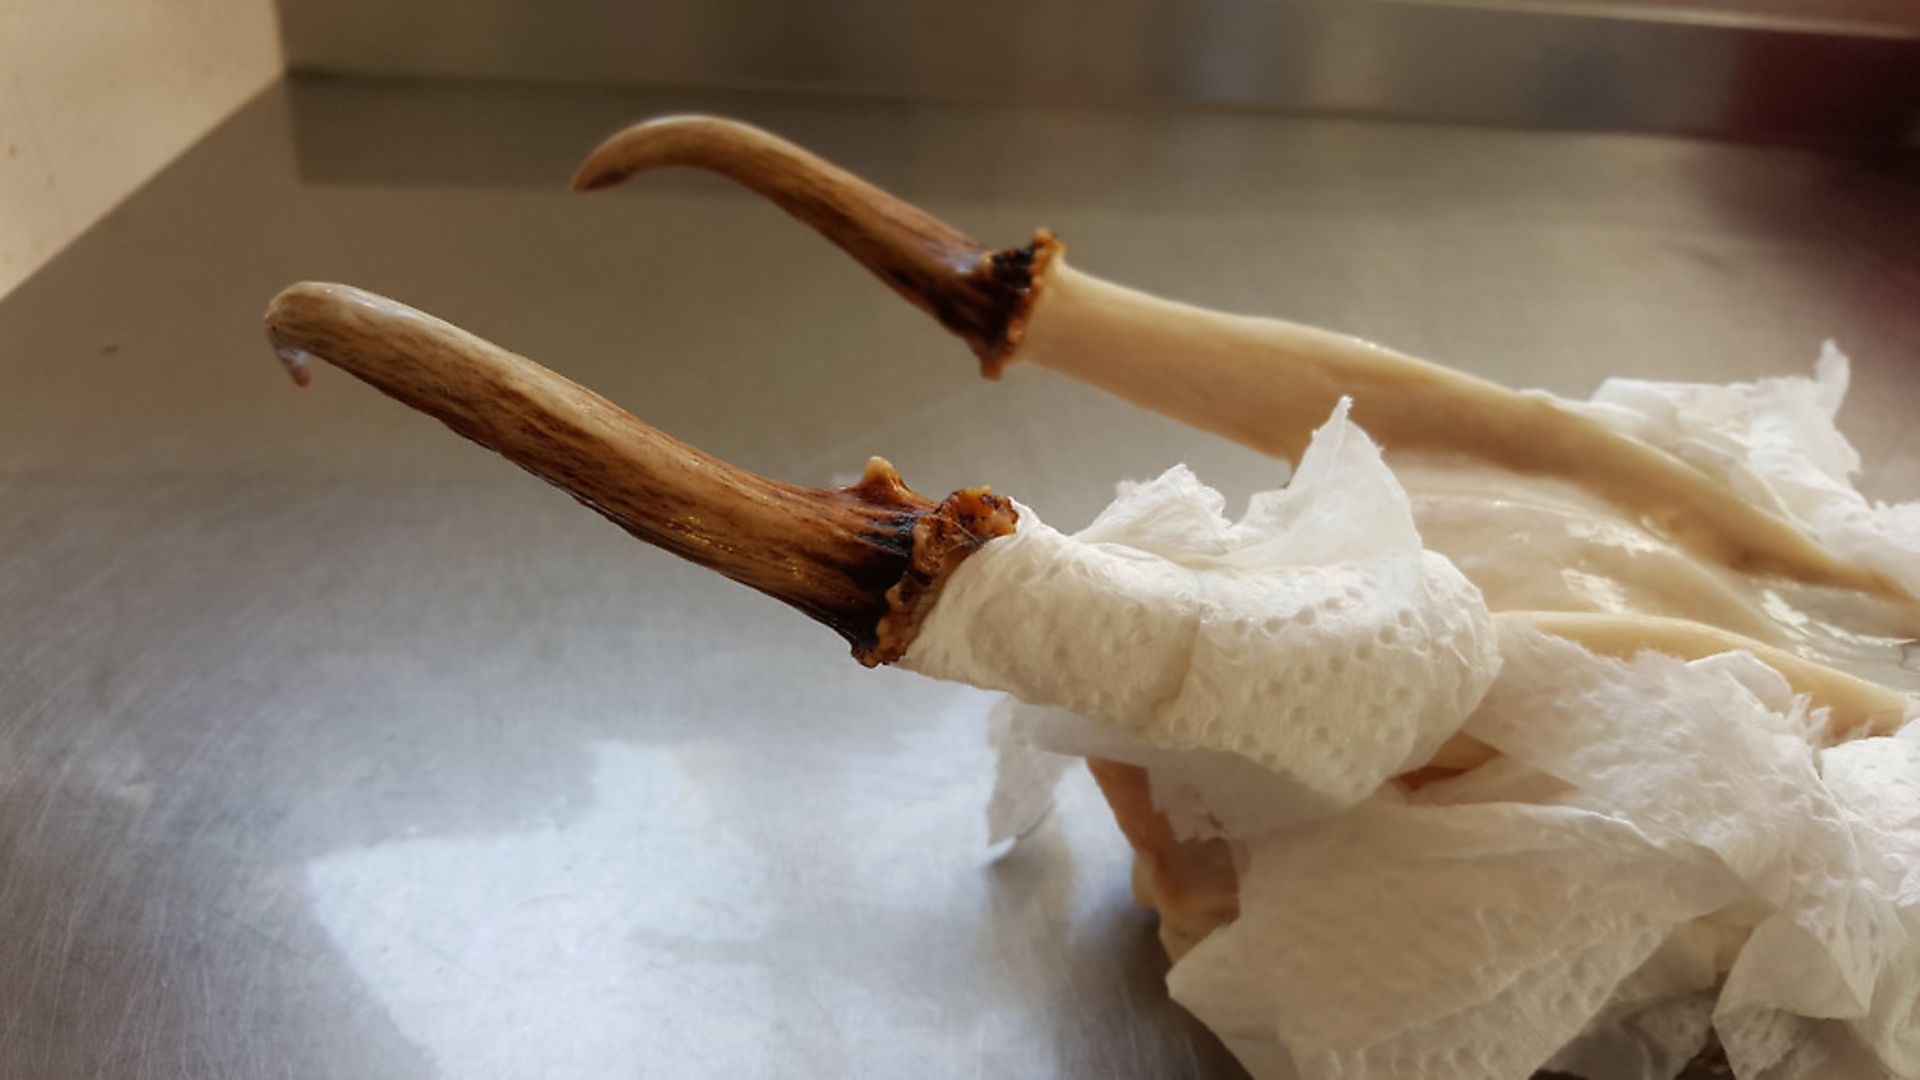
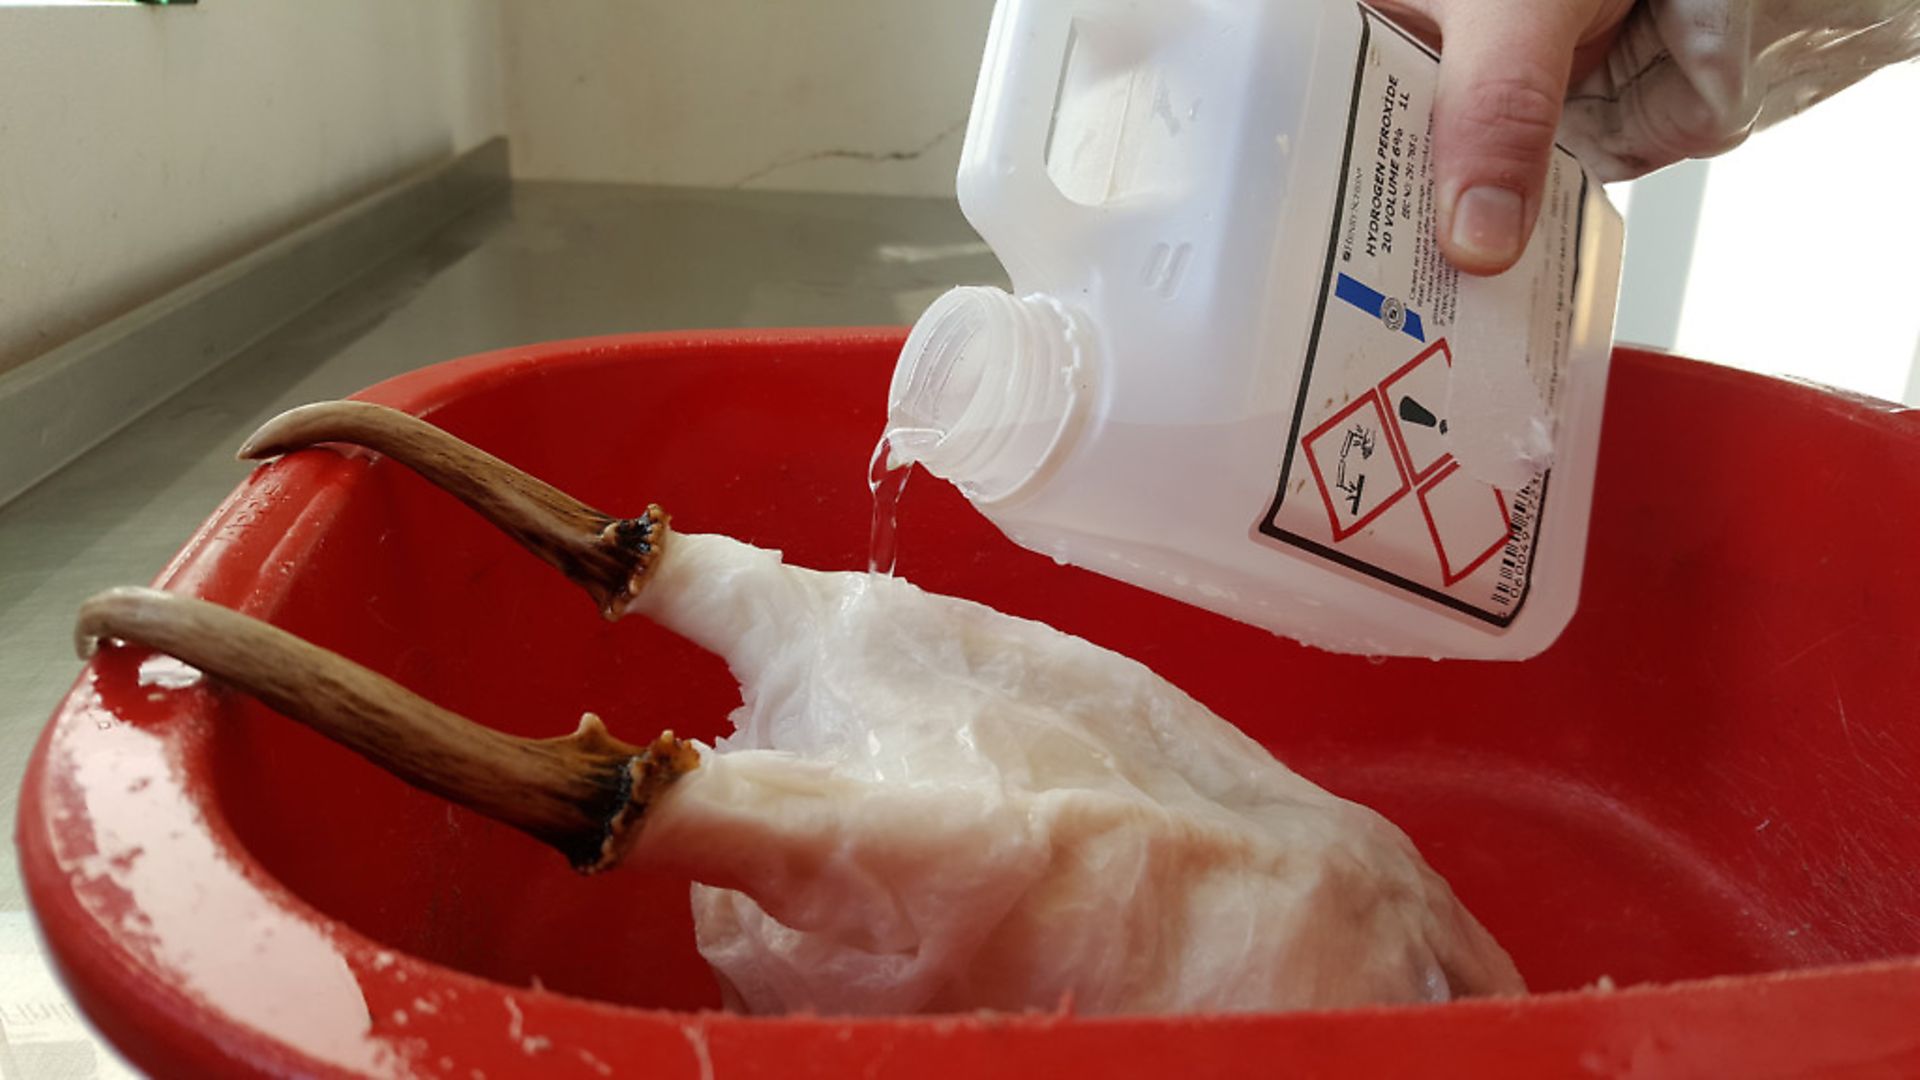
Step 7: While the skull is still wet, wrap the bone in plain white kitchen roll or cotton wool. Insert the material into every hole possible including the brain cavity. Make sure the antlers and coronets are not in contact with the material. Then, wearing rubber gloves for protection, pour on some Hydrogen Peroxide which will soak into the material and bleach the bone over night. I get my peroxide from the vets in one litre bottles. High street chemists will sell small bottles and some hair dressers may be able to supply you. Avoid using domestic bleach - it damages the bone leaving it with a powdery, pitted finish.
 credit: Archant
 credit: Archant
Step 8: The next morning, remove the wet material using the forceps to remove the material from the brain cavity. Rinse the trophy under cold water to remove any peroxide residue. Place the trophy somewhere to dry naturally - don’t be tempted to try and speed up the drying process, as in the case of the weighed trophies you can actually over dry them. Red, fallow, roe and foxes must dry for 90 days prior to evaluation, however all the rest can be measured freshly cleaned.
NOTE: Trophies with velvet on cannot be evaluated so this must be removed. Don’t be tempted to artificially colour the trophy before measuring as if we suspect a trophy has been coloured (in the case of roe this usually shows up in the volume taking process) your trophy will receive a 0 score for colour, when it may have achieved a 0.5 in its original state. Sometimes a 0.5 can make all the difference…..